
How to read topographic maps for navigation for your Survival while out camping
Best tips for Survival reading topographic maps.
Topographic maps are essential tools for outdoor enthusiasts, hikers, and adventurers. They provide a wealth of information about the terrain, allowing you to plan routes, navigate safely, and understand the landscape around you.
Understanding Contour Lines
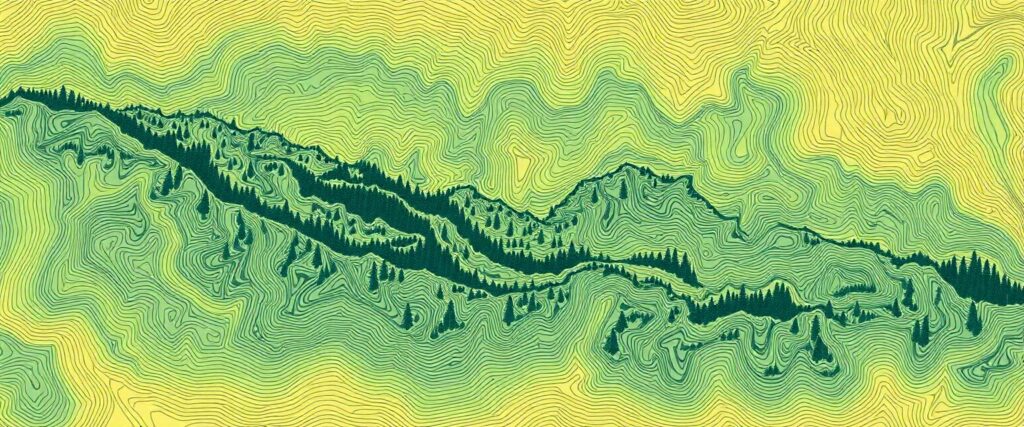
Contour lines are the foundation of topographic maps. Lines on the map are brown lines to connect points of equal elevation.
Contour lines are the foundation of topographic maps. These brown lines connect points of equal elevation, creating a two-dimensional representation of the three-dimensional landscape. Mastering the interpretation of contour lines is crucial for successful navigation.
Contour Intervals
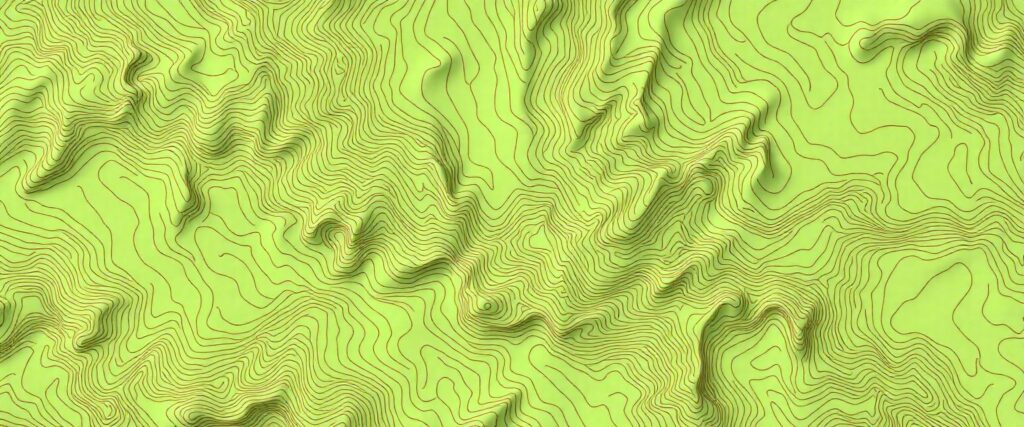
Contour intervals are the vertical distance between neighboring contour lines on a topographic map. The spacing between these lines provides critical information about the steepness and overall topography of an area.
The contour interval is the vertical distance between adjacent contour lines. This value is typically listed in the map legend and can range from 10 to 100 feet, depending on the map’s scale and the terrain’s complexity. Smaller intervals provide more detail but can make the map harder to read in steep areas.
Index Contours
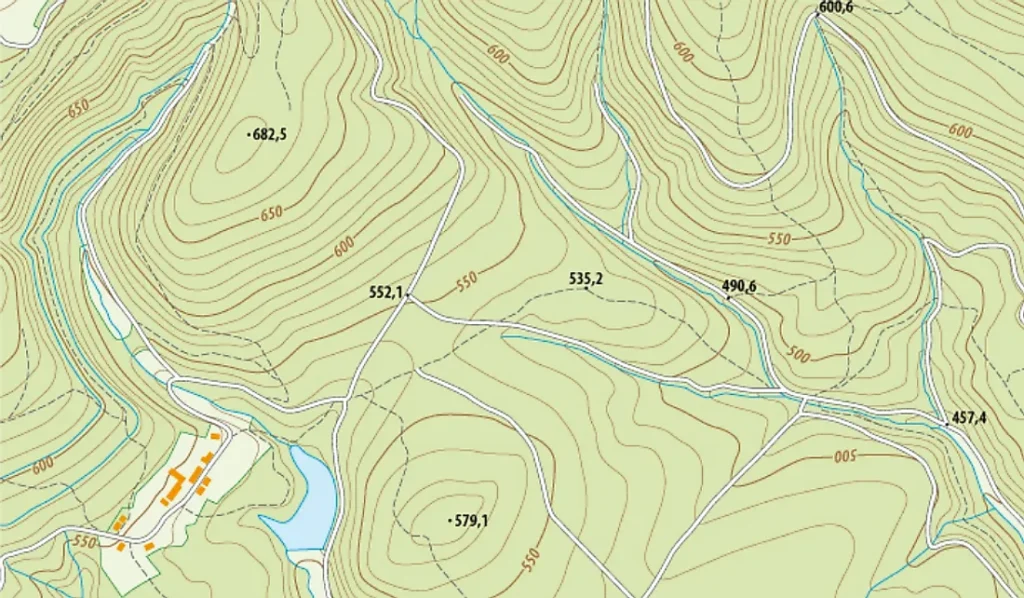
Every fifth contour line as an index contour. These should be labeled with elevation values (e.g., 0, 100, 200 feet). Use a thicker or bolder line style to distinguish these lines from standard contour lines.
Every fifth contour line is usually thicker and labelled with its elevation. These index contours serve as quick reference points for altitude. When reading a map, I always start by identifying these lines to get a general sense of the elevation changes in the area.
Interpreting Contour Patterns
The spacing and shape of contour lines reveal a lot about the terrain:
- Closely spaced lines show steep slopes
- Widely spaced lines suggest gentle terrain
- Concentric circles often represent hills or depressions
- V-shaped contours pointing uphill show valleys or drainages
- Straight, parallel lines suggest uniform slopes
To develop your skills in interpreting contour patterns, practice “reading” the contours of familiar landscapes. This exercise helps build a mental 3D image when you’re in unfamiliar territory.
Map Scale and Distance Calculation
Map scale is typically represented as a ratio, such as 1:24,000. This means that one inch on the map equals 24,000 inches (2,000 feet) in real life.
Understanding scale is essential for:
- Estimating distances between points
- Planning realistic routes
- Calculating travel times
Most topographic maps include a scale bar for quick visual reference. I recommend getting familiar with using it to measure distances accurately. You can use a piece of string or the edge of a paper to trace along winding trails or rivers, then measure that length against the scale bar.
Common Map Scales
- 1:24,000 – USGS 7.5-minute quadrangle maps (1 inch = 2,000 feet)
- 1:50,000 – Many international topographic maps
- 1:100,000 – Regional overview maps
Remember that larger scale maps (like 1:24,000) show more detail but cover a smaller area, while smaller scale maps (like 1:100,000) show less detail but cover larger areas.
Decoding Map Symbols and Colors
Topographic maps use a variety of symbols and colors to represent different features:
- Blue: Water features (lakes, rivers, streams)
- Green: Vegetation (forests, orchards)
- Black: Man-made features (roads, buildings, boundaries)
- Red: Major highways and survey markers
- Brown: Contour lines and elevation numbers
It’s crucial to study the map legend thoroughly. Each map may have slight variations in symbology, so don’t assume you know everything at first glance. I always take a few minutes to familiarize myself with the specific symbols used on a new map before heading out.
Common Map Symbols
- Dotted lines: Trails or unimproved roads
- Solid lines: Paved roads or well-maintained trails
- Triangles: Peaks or summits
- Squares: Buildings or structures
- Crosses: Churches or cemeteries
Under standing Declination
One of the most common pitfalls for beginners is failing to account for magnetic declination. Topographic maps are oriented to true north, while compasses point to magnetic north. The difference between these is called declination, and it varies depending on your location. Declination can be significant – in some areas, it can be as much as 20 degrees or more. That’s enough to send you miles off course on a long hike! Always check the declination information provided on the map and adjust your compass accordingly.
Adjusting for Declination
There are two main methods for dealing with declination:
- Set your compass to compensate for declination
- Add or subtract the declination when taking bearings
I prefer to set my compass to compensate for declination, as it reduces the chance of error in the field. However, it’s essential to know both methods in case you need to use a different compass or share information with other hikers.
Mastering Coordinate Systems
Topographic maps often include many coordinate systems:
- Latitude and Longitude
- Universal Transverse Mercator (UTM) grid
- Military Grid Reference System (MGRS)
Understanding these systems is crucial for precise location reporting and navigation. UTM coordinates are handy for hikers and search-and-rescue teams because of their accuracy and ease of use with GPS devices.
Using UTM Coordinates
The UTM system divides the Earth into 60 zones, each 6 degrees of longitude wide. Coordinates are given as a distance in meters east (Easting) and north (Northing) from the origin of each zone.
For example, a UTM coordinate might look like this: 18T 0580123 4507077
- 18T is the zone
- 0580123 is the Easting (580,123 meters east of the zone origin)
- 4507077 is the Northing (4,507,077 meters north of the equator)
I find UTM coordinates particularly useful when communicating locations to other hikers or emergency services, as they’re less prone to confusion than latitude and longitude.
Advanced Navigation Techniques
Once you’ve mastered the basics, try these advanced techniques to elevate your navigation skills:
Triangulation
Triangulation involves using visible landmarks to determine your position on the map. This technique is especially useful when GPS isn’t available or reliable.
To triangulate your position:
- Identify at least three distinct landmarks that you can see and locate on your map
- Use your compass to take a bearing to each landmark
- Draw lines on your map from each landmark along the back bearing (opposite direction)
- Your location is where these lines intersect
Triangulation takes practice but can be incredibly accurate when done correctly.
Terrain Association
Terrain association involves matching the contours and features on the map to what you see around you. This skill takes practice but becomes second nature over time. As you hike, constantly compare your surroundings to the map. Look for distinctive features like ridgelines, valleys, or water sources. Pay attention to your elevation and the direction of slope changes. I often challenge myself to identify my exact location on the map without using GPS. This practice has significantly improved my overall navigation skills.
Profile Drawing
Creating a cross-sectional view of the terrain can help you better understand elevation changes along your route. This can be particularly useful when planning long-distance hikes or assessing the difficulty of a trail.
To draw a terrain profile:
- Draw a straight line on your map along your intended route
- Place a piece of paper along this line and mark the intersection of each contour line
- Transfer these marks to graph paper, using the contour interval to determine the vertical scale
- Connect the points to create a profile of the terrain
This visual representation can help you anticipate challenging sections of your path and plan accordingly.
Digital vs. Paper Maps: Embracing Both Worlds
While digital mapping tools offer convenience and extra features, it’s essential to maintain proficiency with paper maps. Here’s why I always carry both:
Advantages of Paper Maps
- They don’t rely on batteries or signal
- They provide a broader view of the area
- Physical interaction with the map can improve spatial understanding
- They’re more durable in harsh conditions
Advantages of Digital Maps
- GPS tracking shows your exact location in real-time
- Easy to zoom in and out for different levels of detail
- Often include extra information like trail reports or points of interest
- Can be updated more often than paper maps
I use digital maps for quick reference and real-time tracking, but I always have a paper map as a backup and for overall route planning.
Common Pitfalls and How to Avoid Them
Even experienced navigators can make mistakes. Here are some common pitfalls and how to avoid them:
Misinterpreting Contour Line Spacing
It’s easy to underestimate the steepness of terrain when reading contour lines. Practice visualizing terrain from contour lines in familiar areas before venturing into unknown territory.
Failing to Account for Declination
Always double-check your declination adjustment before setting out, and recheck periodically on long trips. A small error in declination can lead to significant navigation mistakes over long distances.
Overlooking Important Terrain Features
Take time to study your map thoroughly before your trip, noting potential hazards or points of interest. Pay special attention to features like cliffs, river crossings, or dense vegetation that might impact your route.
Difficulty in Visualizing the 3D Landscape from a 2D Map
Use 3D mapping software to help bridge this gap in understanding. Many online tools allow you to view topographic maps in 3D, which can be incredibly helpful for route planning.
Misreading Elevation Changes
Pay close attention to elevation numbers on index contours to avoid underestimating climbs or descents. A series of closely spaced contour lines might represent a short but very steep section of trail.
Adapting Your Skills to Different Environments
Topographic map reading skills are transferable, but each environment presents unique challenges:
Forest Navigation
In dense forests, focus on using major terrain features and drainages for navigation. Look for distinctive ridgelines, valleys, or water sources to orient yourself.
Pay close attention to elevation changes, as they can be harder to perceive visually in forested areas.
Alpine Navigation
In open alpine areas, practice long-distance landmark identification. Use prominent peaks, ridges, or lakes to triangulate your position.
Be aware that snow cover can obscure trails and alter the appearance of the landscape compared to your map.
Desert Navigation
In desert landscapes, pay extra attention to subtle elevation changes and water sources. Look for distinctive rock formations, dry washes, or distant mountain ranges to orient yourself.
Remember that distances can be deceptive in wide-open spaces.
The key is to adapt your focus based on the most relevant features in each environment. With practice, you’ll develop a sense for which map features are most useful in different terrains.
Building on the Basics: The Path to Mastery
As you become more comfortable with basic map reading, challenge yourself to:
- Plan and execute multi-day backcountry routes
- Navigate in low-visibility conditions using map and compass alone
- Teach others the skills you’ve learned, which will reinforce your own knowledge
Remember, true mastery comes from consistent practice and real-world application. Every time you head out on a hike, set a goal to improve a specific aspect of your navigation skills.
Exercises to Sharpen Your Skills
Here are some exercises I’ve found helpful for improving my topographic map reading abilities:
Create a “Treasure Hunt” in a Local Park
Use map coordinates to set up a series of waypoints in a nearby park or natural area. Challenge yourself or friends to find each location using only a map and compass.
Practice Drawing Topographic Profiles
Choose familiar hiking trails and create elevation profiles using the contour lines on your map. Then, hike the trail and compare your profile to the actual terrain.
Try “Micro-Orienteering” in Your Neighborhood
Use a large-scale map of your local area to navigate between specific points. This can help you practice precise navigation skills in a familiar environment.
Participate in Orienteering Events
Many areas have orienteering clubs that organize events ranging from beginner-friendly to highly challenging. These competitions are an excellent way to test your skills in a fun, supportive environment.
Use Online Resources and Apps
There are many websites and mobile apps that offer virtual topographic map reading exercises. These can be great for practicing when you can’t get outdoors.
PEOPLE ALSO ASKED
What is the purpose of contour lines on a topographic map?
Contour lines on a topographic map connect points of equal elevation, allowing readers to visualize the three-dimensional landscape on a two-dimensional surface. They help hikers and navigators understand the terrain’s shape, steepness, and elevation changes.
How do I calculate distance on a topographic map?
To calculate distance on a topographic map, use the map’s scale bar or ratio. Measure the distance between two points on the map using a ruler or piece of string, then compare this measurement to the scale bar or use the map’s scale ratio to convert to real-world distance.
What does the spacing of contour lines indicate?
The spacing of contour lines shows the steepness of the terrain. Closely spaced contour lines represent steep slopes, while widely spaced lines show gentler terrain. This information is crucial for planning routes and estimating hiking difficulty.
How do I account for magnetic declination when using a compass with a topographic map?
To account for magnetic declination, first check the map for the local declination value. Then, either adjust your compass to compensate for declination or add/subtract the declination value when taking bearings.
This ensures your compass readings align with the map’s true north orientation.
What is the difference between true north and magnetic north?
True north is the direction towards the Earth’s geographic North Pole, while magnetic north is the direction a compass needle points because of the Earth’s magnetic field. The angle between these two directions is called magnetic declination and varies depending on your location.
How do I read UTM coordinates on a topographic map?
UTM coordinates on a topographic map are typically displayed as two numbers: an easting (horizontal distance) and a northing (vertical distance). These numbers represent meters from a zone’s origin point. The map’s grid lines and labels help you locate specific UTM coordinates.
Colors on topographic maps typically represent different features:
- Blue: Water bodies (lakes, rivers, streams)
- Green: Vegetation (forests, parks)
- Black: Man-made structures, roads, and boundaries
- Brown: Contour lines and elevations
- Red: Major highways and important features
How can I estimate hiking time using a topographic map?
To estimate hiking time, consider both distance and elevation change. A common rule of thumb is to allow 1 hour for every 3 miles of distance, plus an extra hour for every 1,000 feet of elevation gain. Adjust this estimate based on your fitness level, terrain difficulty, and expected weather conditions.
What is the importance of understanding map scale?
Understanding map scale is crucial for accurately estimating distances, planning routes, and interpreting the size of features shown on the map. It allows you to convert map measurements to real-world distances and helps you gauge the level of detail provided by the map.
How do I identify potential campsites using a topographic map?
When identifying potential campsites on a topographic map, look for:
- Relatively flat areas (widely spaced contour lines)
- Proximity to water sources (blue features)
- Natural wind barriers (ridges or dense vegetation)
- Safe distance from potential hazards (steep slopes, flood-prone areas)
- Appropriate elevation for the season and weather conditions.
Key Takeaways
- Contour lines are the foundation of topographic map reading, connecting points of equal elevation.
- Understanding map scale is crucial for accurate distance estimation and route planning.
- Always account for magnetic declination when using a compass with a topographic map.
- Practice visualizing 3D terrain from 2D contour lines to improve your navigation skills.
- Combine digital and paper map skills for comprehensive navigation abilities.
- Adapt your map reading techniques to different environments (forests, alpine areas, deserts).
- Regular practice and real-world application are essential for mastering topographic map navigation.