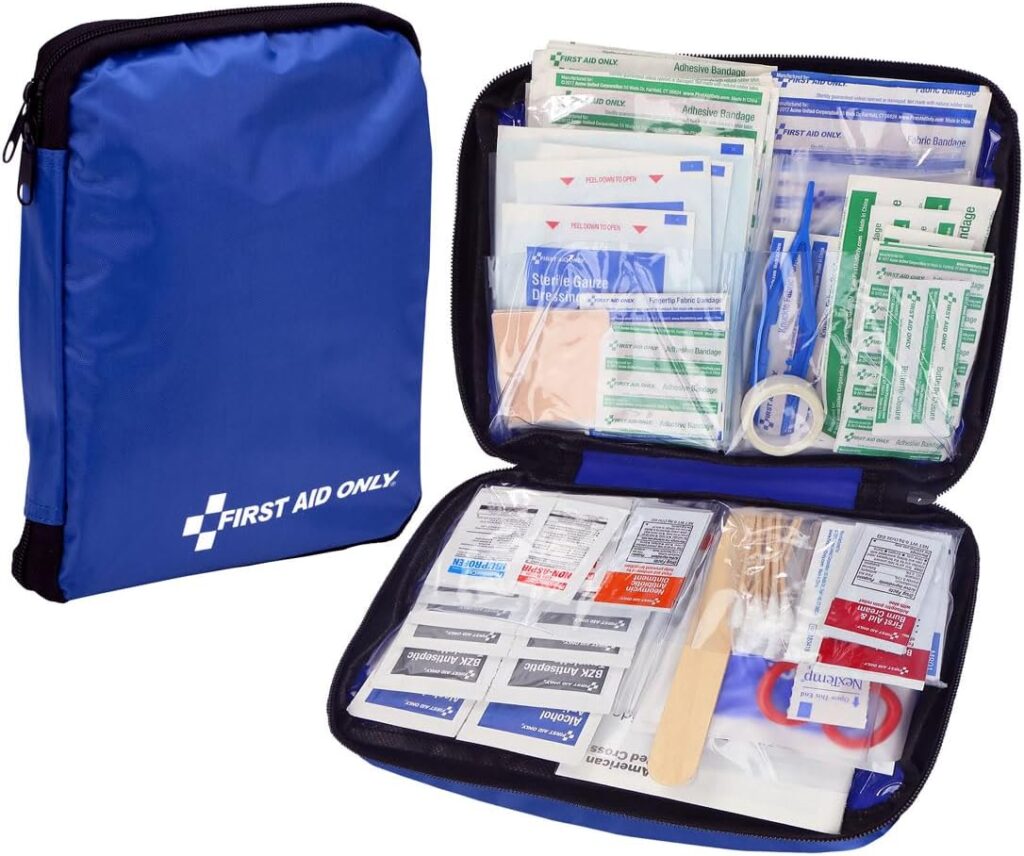
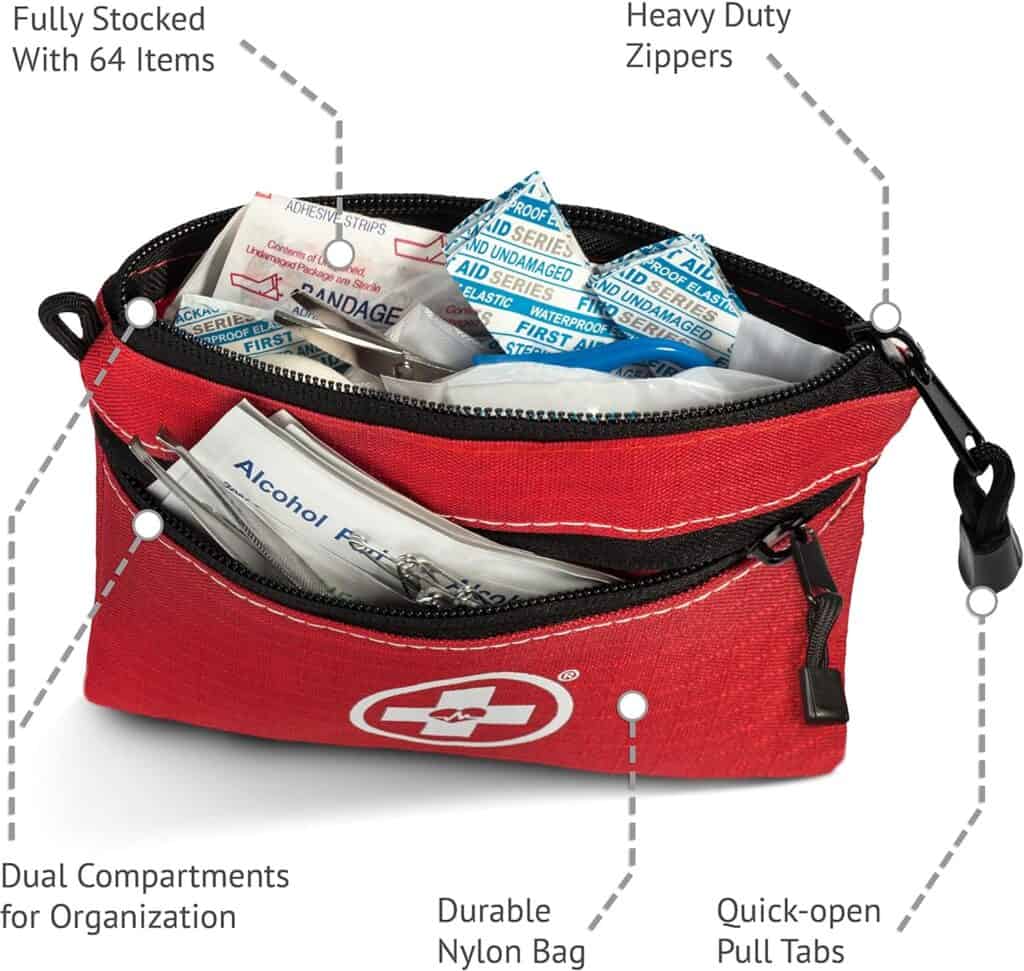
As a prepper, one of the most critical components of your emergency readiness plan is a well-equipped survival medical kit. Whether you’re preparing for natural disasters, societal disruptions, or off-grid adventures, having a comprehensive and organized medical kit could be the difference between life and death. This guide will walk you through assembling your own DIY survival medical kit, tailored to your needs and the scenarios you envision.
**Disclaimer: In the name of full transparency, please be aware that this blog post contains affiliate link’s and any purchases made through such links will results in a small commission for me (at no extra cost for you).**
Why Build a DIY Medical Kit?
Creating your own medical kit allows you to customize it based on your unique circumstances. Pre-made kits can be convenient, but they often lack flexibility or essential supplies. By building your own, you ensure that every item in your kit serves a specific purpose.


Determining Your Needs
1. Assess Your Situation
Consider the environment you’re preparing for:
- Will you be in urban, rural, or wilderness areas?
- Are you prepping for natural disasters, long-term survival, or potential injuries in remote locations?
2. Account for Medical Conditions
Include any medications or supplies necessary for pre-existing conditions, allergies, or special needs.
3. Plan for Group Size
If you’re preparing for a family or group, ensure your kit can support multiple individuals.
Essential Components of a Survival Medical Kit
When building your kit, focus on these core categories:
1. First Aid Basics
Your kit should cover common injuries such as cuts, scrapes, and burns. Include:
- Adhesive bandages (various sizes)
- Sterile gauze pads
- Medical tape
- Antiseptic wipes
- Antibacterial ointment
- Burn gel or cream
- Tweezers (look for stainless steel tweezers like those from Revlon, available on Amazon)
2. Trauma Care
For severe injuries, you need supplies to stabilize and manage bleeding:
- Tourniquet (consider the highly rated CAT Combat Tourniquet available on Amazon)
- Hemostatic agents like QuikClot gauze
- Israeli bandages or emergency trauma dressings
- Chest seals for puncture wounds
- A trauma shears set (high-quality models from brands like Leatherman are excellent)
3. Medications
Include over-the-counter and prescription medications:
- Pain relievers (ibuprofen or acetaminophen)
- Antihistamines for allergic reactions
- Anti-diarrheal tablets like loperamide
- Antacids for stomach issues
- Prescription medications in labeled containers
- Electrolyte tablets for dehydration
4. Tools and Instruments
Ensure you have tools for a variety of medical needs:
- Nitrile gloves (disposable gloves like MedPride are highly rated)
- Digital thermometer
- Scalpel or surgical blade
- Suture kit or Steri-Strips
- Splints for fractures or sprains (SAM Splints are a popular option)
- Safety pins
5. Personal Protection
Protect yourself and others from infection:
- N95 masks or reusable respirators
- Face shields
- Hand sanitizer
- Eye protection (goggles or safety glasses)
6. Specialty Supplies
Depending on your scenario, consider adding:
- Snake bite kits
- Water purification tablets (like Aquatabs)
- Antibiotics (consult a doctor or look into fish antibiotics like Fish Mox, which some preppers use as a last resort)
- CPR face shield or pocket mask
7. Documentation and Instructions
Include a small waterproof notebook with:
- Emergency contact numbers
- Personal medical information for all group members
- First aid and survival manuals (consider Where There Is No Doctor, a widely recommended book on Amazon)
Organizing Your Medical Kit
1. Choose a Durable Bag
Select a bag that is water-resistant, easy to carry, and has multiple compartments for organization. Highly rated options include:
- Maxpedition Fatty Pocket Organizer: Compact yet spacious.
- Lightning X Premium EMS Bag: Ideal for more extensive kits.
2. Use Color-Coded Pouches
Organize your supplies by category using color-coded pouches or labels. For example:
- Red for trauma care
- Green for medications
- Blue for tools and instruments
3. Vacuum Seal Small Items
Vacuum-sealing bandages, gloves, and small tools can save space and protect them from moisture.
4. Add Inventory Cards
Include a list of all items in your kit, along with expiration dates for medications and sterile supplies.
Building Your Kit on a Budget
Creating a survival medical kit doesn’t have to break the bank. Here’s how to save money while assembling a high-quality kit:
- Buy in bulk: Many first-aid supplies are cheaper when purchased in larger quantities.
- Reuse and recycle: Repurpose sturdy containers or pouches for organization.
- Shop online: Look for deals on Amazon, where you can find items like first aid kits to use as a base for customization.
Maintaining and Updating Your Kit
1. Check Expiration Dates
Regularly inspect medications, ointments, and sterile supplies for expiration dates and replace as needed.
2. Restock After Use
If you use an item, make a note to replace it immediately.
3. Review Your Kit Periodically
Your needs might change over time. Reassess your kit’s contents to ensure it remains relevant.
Recommended Items to Include from Amazon
1. Pre-Made Kits for a Base
If you want to start with a pre-assembled kit and customize it:
- Everlit Emergency Trauma Kit: Comes with essentials like tourniquets, gauze, and a tactical pouch.
- Surviveware First Aid Kit: Compact and durable, perfect for adding extra items.
2. Highly Rated Products
- SAM Splint: Lightweight and moldable for fractures.
- QuikClot Advanced Clotting Gauze: Essential for stopping severe bleeding.
- CPR Mask Keychain: Convenient and easy to carry.
Tips for Effective Use
1. Learn Basic First Aid
Take a first aid and CPR course to ensure you can use the supplies in your kit effectively.
2. Practice Using Tools
Familiarize yourself with items like tourniquets, splints, and suture kits to build confidence in emergencies.
3. Train Your Group
If you’re prepping for a group, ensure everyone knows where the kit is and how to use the supplies.
Scenarios to Prepare For
1. Natural Disasters
Focus on injuries like cuts, fractures, and dehydration. Include supplies for sanitation and infection prevention.
2. Wilderness Survival
Add items like snake bite kits, insect repellent, and water purification tablets.
3. Long-Term Grid Down
Stock up on antibiotics, additional medications, and books on medical care in austere environments.
Final Thoughts
A DIY survival medical kit is an invaluable part of your preparedness plan. By carefully selecting supplies, organizing them efficiently, and staying up to date with maintenance, you can ensure your kit is ready for any emergency. Take the time to tailor your kit to your specific needs, and always prioritize safety and preparedness.
