Understanding Hydrostatic Head Ratings
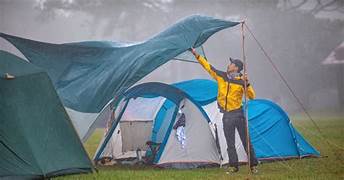
Hydrostatic head ratings are crucial for assessing a tent’s waterproofing effectiveness. This measurement, typically ranging from 1,000mm to 10,000mm, shows the height of a water column the fabric can support before leakage occurs.
For extreme weather conditions, higher ratings provide superior protection.
A tent with a 10,000mm rating can withstand a 10-meter column of water before moisture seeps through. This translates to exceptional performance in heavy, sustained rainfall and even resists water ingress when pressure is applied to a wet tent floor.
When selecting a tent for harsh environments, prioritize models with ratings at the upper end of the spectrum. These high-performance shelters offer peace of mind during prolonged exposure to wet conditions.
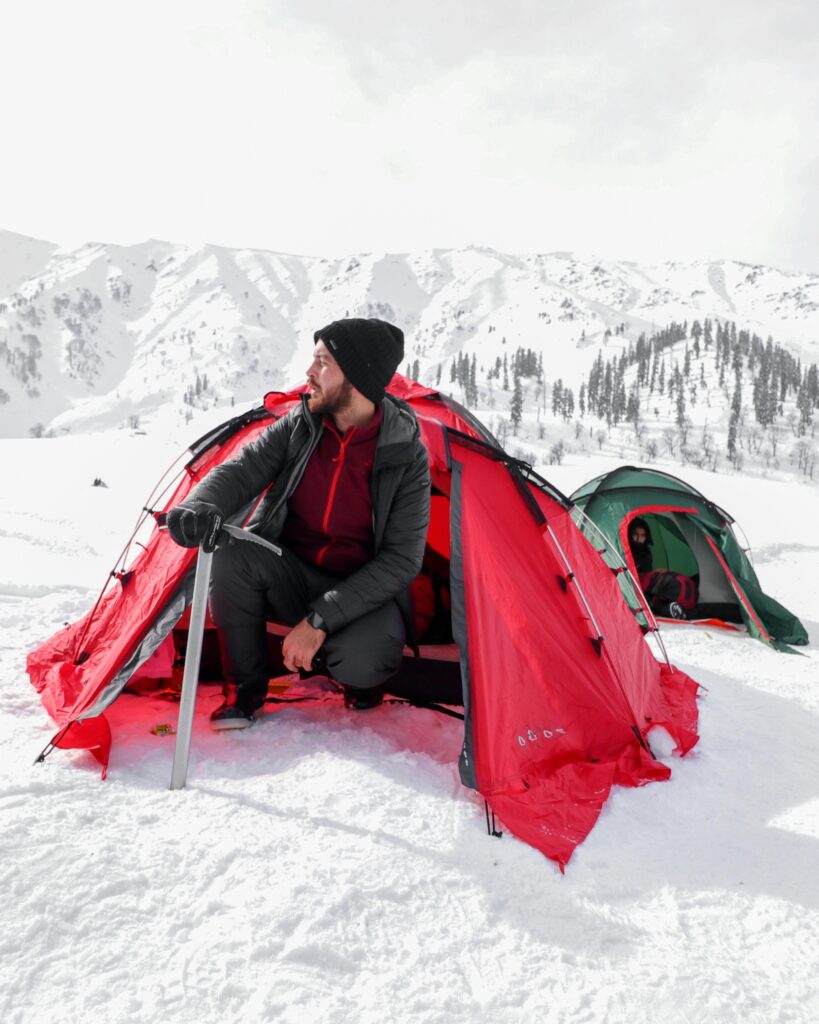
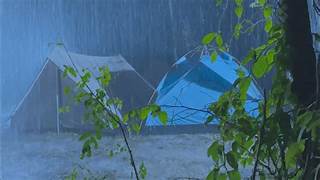
The Architecture of Resilience: Geodesic Dome Designs
Geodesic dome tents represent the pinnacle of structural integrity for withstanding high winds and heavy snow loads. Bob Gillis patented this revolutionary design in 1976, introducing a multi-pole structure that evenly distributes stress across the entire tent body.
The genius of geodesic design comes from it’s ability to create a self-supporting structure with minimal materials. This results in tents that are remarkably stable while remaining relatively lightweight for their strength.
Some high-end geodesic models boast wind resistance up to 200 mph—a level of durability capable of withstanding most hurricanes. This exceptional performance stems from the interconnected network of poles that form triangular shapes, creating a dome that efficiently redirects wind forces and prevents collapse.
For expeditions into areas prone to extreme weather, a geodesic dome tent provides unparalleled protection. The design’s inherent strength allows for larger interior spaces without compromising stability, making these tents ideal for extended stays in challenging environments.
Material Matters: The Science of Fabric Selection
The choice of fabric plays a pivotal role in a tent’s performance under extreme conditions. Ripstop nylon has become a staple material for many manufacturers because of it’s excellent strength-to-weight ratio and tear resistance.
The distinctive checkerboard pattern of ripstop nylon serves a crucial functional purpose. This design incorporates reinforcement threads woven into the fabric at regular intervals.
When a tear occurs, these stronger fibers prevent it from spreading, maintaining the tent’s structural integrity even after minor damage.
For the ultimate in waterproofing and durability, some high-end tents employ advanced materials like Dyneema Composite (formerly known as Cuben Fiber). This ultra-lightweight fabric offers exceptional water resistance and strength, allowing for tents that weigh less than a pound while still providing robust protection against the harshest elements.
Dyneema Composite achieves it’s remarkable properties through a unique construction process. Ultra-high-molecular-weight polyethylene fibers are sandwiched between thin polyester films, creating a material that’s incredibly strong, waterproof, and resistant to UV degradation.
When selecting a tent for extreme conditions, carefully consider the fabric specifications. Look for materials that balance weight, strength, and water resistance to match your specific needs and the environments you’ll encounter.
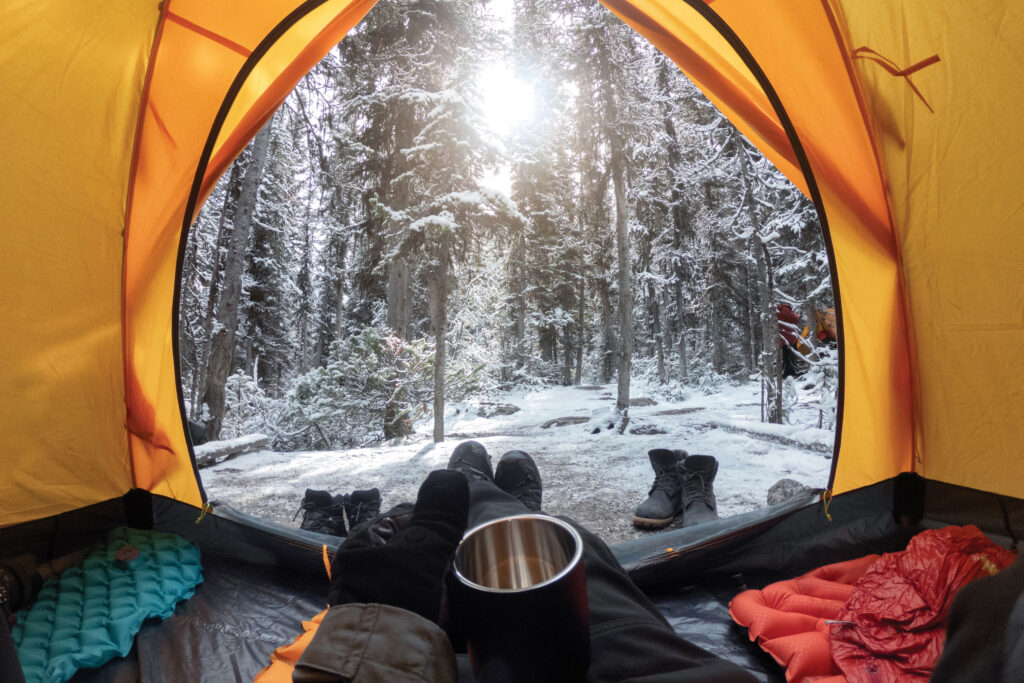
Ventilation: The Unsung Hero of Tent Design
While keeping water out is crucial, managing moisture inside the tent is equally important. Proper ventilation prevents condensation buildup, which can be just as dangerous as external precipitation in cold environments.
Advanced ventilation systems employ a combination of breathable fabrics, strategically placed vents, and sometimes even small fans to maintain air circulation without compromising waterproofing. Look for tents with adjustable vents that allow you to fine-tune airflow based on conditions.
Some high-end tents feature innovative solutions like vapor-permeable fabrics that allow moisture to escape while preventing water droplets from entering. These materials work in conjunction with well-designed ventilation systems to create a comfortable, dry interior environment even in challenging conditions.
When evaluating tent ventilation, consider the following factors:
- Number and placement of vents
- Adjustability of ventilation options
- Presence of mesh panels for increased airflow
- Integration of rainfly design with ventilation features
Effective ventilation improves comfort and extends the lifespan of your gear by reducing moisture-related wear and tear.
Setting Up for Success: Mastering Tent Pitching Techniques
Even the most advanced tent performs only as well as it’s setup. Follow this comprehensive guide to confirm your shelter stands strong in extreme conditions:
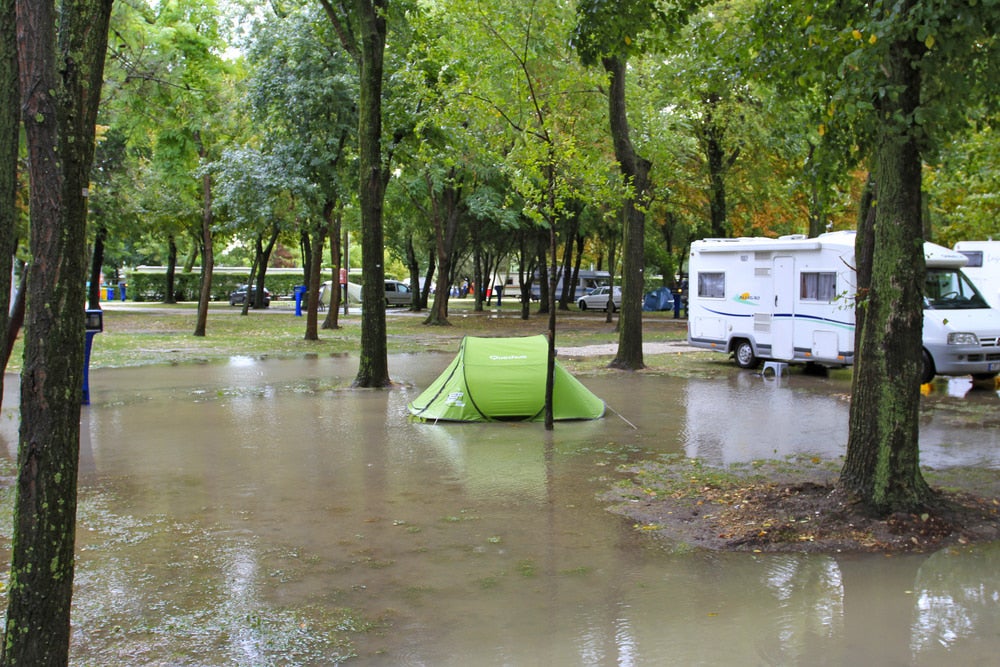
- Choose Your Site Wisely: Seek level ground with good drainage.
Avoid low-lying areas prone to flooding and be mindful of potential hazards like falling branches or rockfall.
- Clear the Area: Remove any sharp objects, stones, or debris that could puncture your tent floor.
Create a smooth surface to maximize comfort and protect your gear.
- Use a Footprint: This additional ground cloth protects your tent floor and adds an extra layer of waterproofing.
Ensure the footprint is slightly smaller than your tent’s floor to prevent water pooling between layers.
- Stake it Out: Begin by staking out the corners, ensuring the tent is taut but not overstretched. In soft ground, use longer stakes or improvise with buried objects for added security.
- Raise the Poles: Follow your tent’s specific instructions for pole assembly and insertion.
For geodesic designs, pay close attention to the fix order of pole placement to achieve proper tension.
- Secure Guy Lines: Properly tensioned guy lines are crucial for stability in high winds.
Adjust them as needed throughout your stay, accounting for changes in temperature and humidity that can affect line tension.
- Add the Rainfly: Ensure it’s taut and not touching the inner tent to prevent water transfer.
Properly align the rainfly with vents and entrances for optimal performance.
- Fine-tune the Setup: Once the basic structure is in place, make final adjustments to confirm even tension across all components.
This step is critical for maximizing your tent’s weather resistance.
Practice these techniques in various conditions to develop the skills needed for rapid, effective setup in challenging environments.
Common Pitfalls and How to Avoid Them
Even experienced campers can fall victim to these common mistakes:
- Ignoring the Weather Forecast: Always check and prepare for the worst possible conditions.
Understanding the potential weather challenges allows you to choose the suitable gear and campsite.
- Skimping on Quality: In extreme weather, your life may depend on your gear.
Invest in the best equipment you can afford, focusing on critical components like tent fabric, poles, and waterproofing.
- Neglecting Maintenance: Regularly clean and re-waterproof your tent to maintain it’s performance.
Inspect seams, zippers, and fabric for signs of wear, and address issues promptly to prevent failures in the field.
- Overpacking the Interior: A cluttered tent is more prone to condensation and harder to keep dry.
Organize your gear efficiently, using stuff sacks and compression bags to maximize space and minimize moisture traps.
- Cooking Inside: While tempting in bad weather, this can lead to dangerous carbon monoxide buildup and potential fire hazards.
Always cook in a well-ventilated area outside the tent, using a sheltered cooking area if necessary.
- Underestimating Condensation: Even with proper ventilation, condensation can be a significant issue.
Use absorbent cloths to wipe down interior surfaces regularly and avoid bringing wet gear inside the tent.
- Improper Storage: Storing a tent while damp can lead to mold and mildew growth, compromising it’s performance and longevity.
Always dry your tent thoroughly before packing it away.
By avoiding these common mistakes, you’ll significantly enhance your tent’s performance and your overall camping experience in extreme conditions.


Adapting to Different Environments
Your approach to using a waterproof survival tent should vary based on the specific challenges of your environment:
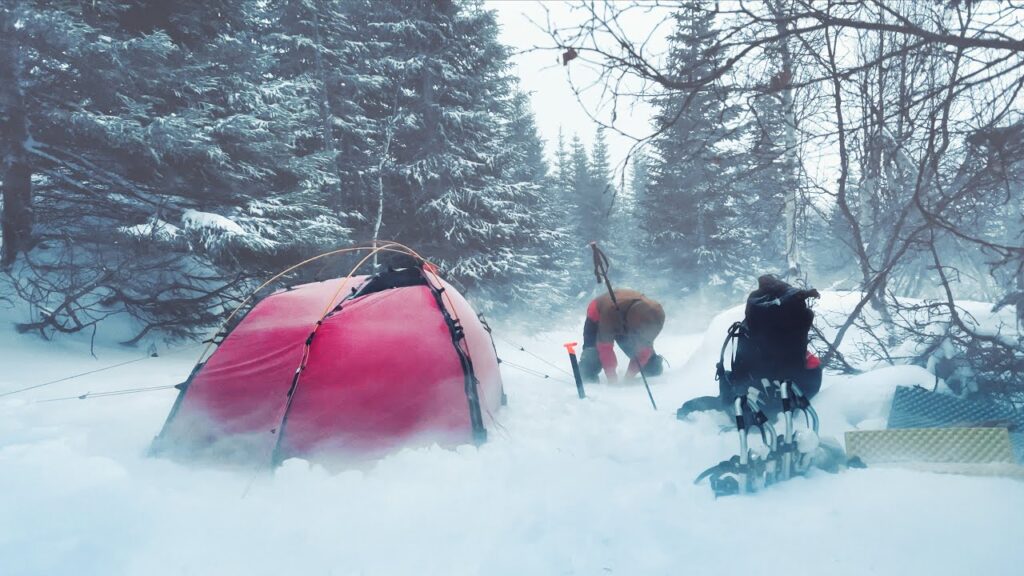
Arctic Conditions
In extreme cold, focus on insulation and wind resistance. Use snow to build wind barriers around your tent, creating a protective wall that deflects harsh gusts.
Consider using a four-season tent with a low-profile design to minimize wind exposure.
Insulate the tent floor with additional sleeping pads or natural materials like spruce boughs. Manage condensation vigilantly, as frozen moisture can compromise insulation and comfort.
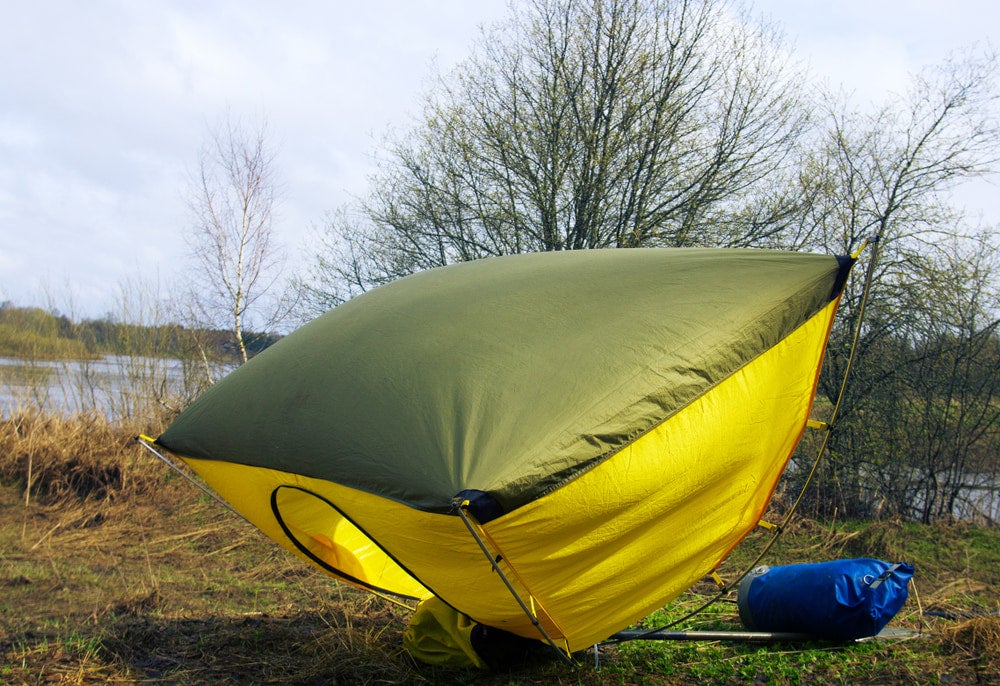
Tropical Storms
Prioritize ventilation to combat high humidity while maintaining excellent waterproofing. Look for tents with large mesh panels that can be fully covered by a robust rainfly.
Ensure exceptional drainage around your site by creating small trenches to move water flow.
Consider using a hammock-style tent or elevated platform to avoid ground saturation in prolonged wet conditions. Keep gear organized in waterproof bags to minimize moisture inside the tent.
High Altitude
Seek tents with extra guy-out points for enhanced stability in thin air and high winds. UV-resistant fabrics are crucial at high elevations where solar radiation is intense.
Pay special attention to proper staking and guying techniques, as rocky terrain can make securing the tent challenging.
Be prepared for rapid weather changes by always setting up your tent with the rainfly attached, even in clear conditions. Carry extra guylines and stakes to reinforce your shelter in unexpected storms.
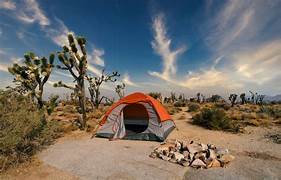
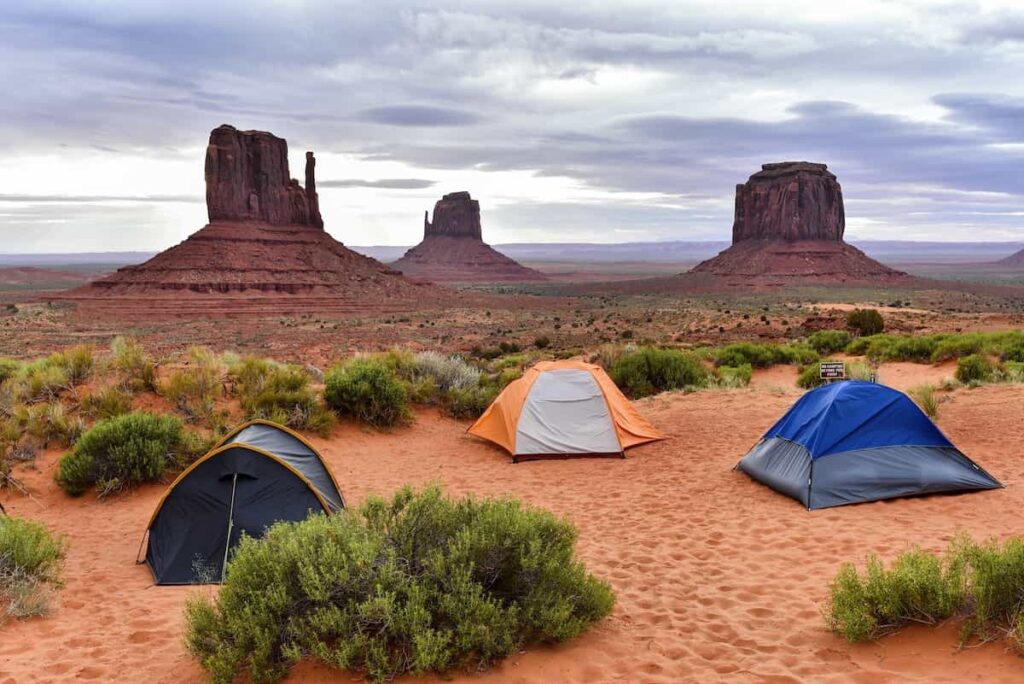
Desert Environments
Look for UV-resistant fabrics and maximize shade to combat intense heat. Consider reflective outer layers or specially designed desert tents that minimize heat absorption.
Ventilation is key to managing the extreme temperature fluctuations between day and night.
Stake your tent securely to withstand sudden wind gusts, using sand anchors or buried objects in loose soil. Be mindful of flash flood risks when selecting your campsite, avoiding dry riverbeds and low-lying areas.
By tailoring your tent setup and selection to these specific environments, you’ll maximize your shelter’s effectiveness and your safety in extreme conditions.
From Basics to Mastery: The Journey of Tent Expertise
Understanding the principles behind waterproof survival tents opens doors to advanced outdoor skills. As you progress, you’ll develop the ability to:
- Modify and repair tents in the field: Learn to improvise repairs using available materials and a basic repair kit.
Master techniques like seam sealing, patch application, and pole splinting to extend your tent’s life in challenging conditions.
- Choose the optimal shelter for any expedition: Develop a nuanced understanding of how different tent designs perform in various environments.
Factor in weight, packability, and specific features to choose the ideal shelter for each unique adventure.
- Advise others on survival shelter strategies: Share your knowledge to help fellow outdoor enthusiasts make informed decisions about gear selection and usage.
Your expertise can contribute to safer, more enjoyable experiences for your entire outdoor community.
- Potentially design your own custom shelters: As you gain deep insight into tent design principles, you may find opportunities to create or change shelters tailored to specific needs or environments not adequately addressed by commercial offerings.
Practical Exercises to Hone Your Skills
- Timed Setup Challenge: Practice setting up your tent in various conditions, aiming to reduce your time while maintaining proper technique.
Start in ideal conditions, then progress to challenging scenarios like darkness, high winds, or simulated injury (e.g., using only one hand).
- Waterproofing Workshop: Experiment with different waterproofing methods on fabric swatches to understand their effectiveness.
Test various products and application techniques, then expose the samples to controlled water exposure to assess performance.
- Wind Resistance Test: Set up your tent in a controlled environment and use a large fan to simulate wind conditions.
Observe how adjustments to guy lines and positioning affect stability.
Gradually increase wind speed to identify your tent’s limits and optimal setup for high-wind scenarios.
- Condensation Management: Spend a night in your tent in humid conditions, testing different ventilation strategies to minimize condensation.
Monitor interior humidity levels and surface moisture, adjusting vents and gear placement to improve airflow and reduce moisture buildup.
- Emergency Repair Scenario: Simulate a tent pole break or fabric tear and practice field repairs using a standard repair kit.
Time yourself and assess the effectiveness of your repairs under various weather conditions.
- Multi-Environment Setup: If possible, practice setting up your tent in diverse environments like beaches, forests, and rocky terrain. Adapt your techniques to each setting, focusing on site selection, anchoring methods, and environmental protection.
- Long-Term Weather Exposure Test: Set up your tent for an extended period (several days to a week) in a safe location, exposing it to natural weather variations.
Regularly inspect the tent for wear, adjusting tension and addressing any issues that arise.
- Gear Organization Challenge: Practice packing and unpacking your tent and associated gear, focusing on efficiency and moisture management.
Develop a system that allows for quick setup and takedown while keeping essential items easily accessible.
By regularly engaging in these practical exercises, you’ll develop the skills and confidence needed to handle a wide range of challenging scenarios in the field.
Key Takeaways
- Hydrostatic head ratings are crucial for assessing waterproofing effectiveness, with higher ratings providing superior protection in extreme conditions.
- Geodesic designs offer unparalleled stability in harsh weather, utilizing interconnected poles to distribute stress evenly across the tent body.
- Advanced fabrics like ripstop nylon and Dyneema Composite provide exceptional strength, water resistance, and durability for extreme weather tents.
- Proper ventilation is as important as waterproofing for overall comfort and safety, preventing condensation buildup inside the tent.
- Mastering proper setup techniques, including site selection, staking, and guy line adjustment, is essential for maximizing tent performance.
- Regular maintenance and proper care, including cleaning, re-waterproofing, and careful storage, extend the life and effectiveness of your tent.
- Adapting your approach to specific environments (Arctic, tropical, high altitude, desert) maximizes your tent’s effectiveness in diverse conditions.
- Developing advanced tent skills through practical exercises and real-world experience enhances overall outdoor expertise and safety.
Frequently Asked Questions
What is a hydrostatic head rating?
A hydrostatic head rating measures a fabric’s water resistance. It shows the height of a water column (in millimeters) that the material can withstand before leaking.
Higher ratings mean better waterproofing.
How do geodesic tents differ from traditional designs?
Geodesic tents use a network of intersecting poles to create a dome shape. This design distributes stress evenly, making them more stable in high winds compared to traditional A-frame or tunnel tents.
Can I use a 3-season tent in winter conditions?
While possible in mild winter conditions, 3-season tents generally lack the strength and insulation for harsh winter weather. For true winter camping, a 4-season tent is recommended for safety and comfort.
How often should I re-waterproof my tent?
The frequency depends on usage and conditions. Generally, re-waterproof your tent every 1-2 years or when you notice water no longer beading on the fabric surface.
What’s the best way to repair a tent pole in the field?
Carry a tent pole repair sleeve or splint. Slide it over the broken section and secure with duct tape.
For a makeshift solution, a sturdy stick can be lashed alongside the broken pole as a temporary splint.
How do I prevent condensation inside my tent?
Improve ventilation by opening vents and doors when possible. Avoid bringing wet gear inside, and use a ground cloth to prevent moisture from seeping up through the floor.
What’s the difference between single-wall and double-wall tents?
Single-wall tents have one layer of waterproof-breathable fabric, making them lighter but more prone to condensation. Double-wall tents have a separate inner tent and rainfly, offering better moisture management and versatility.
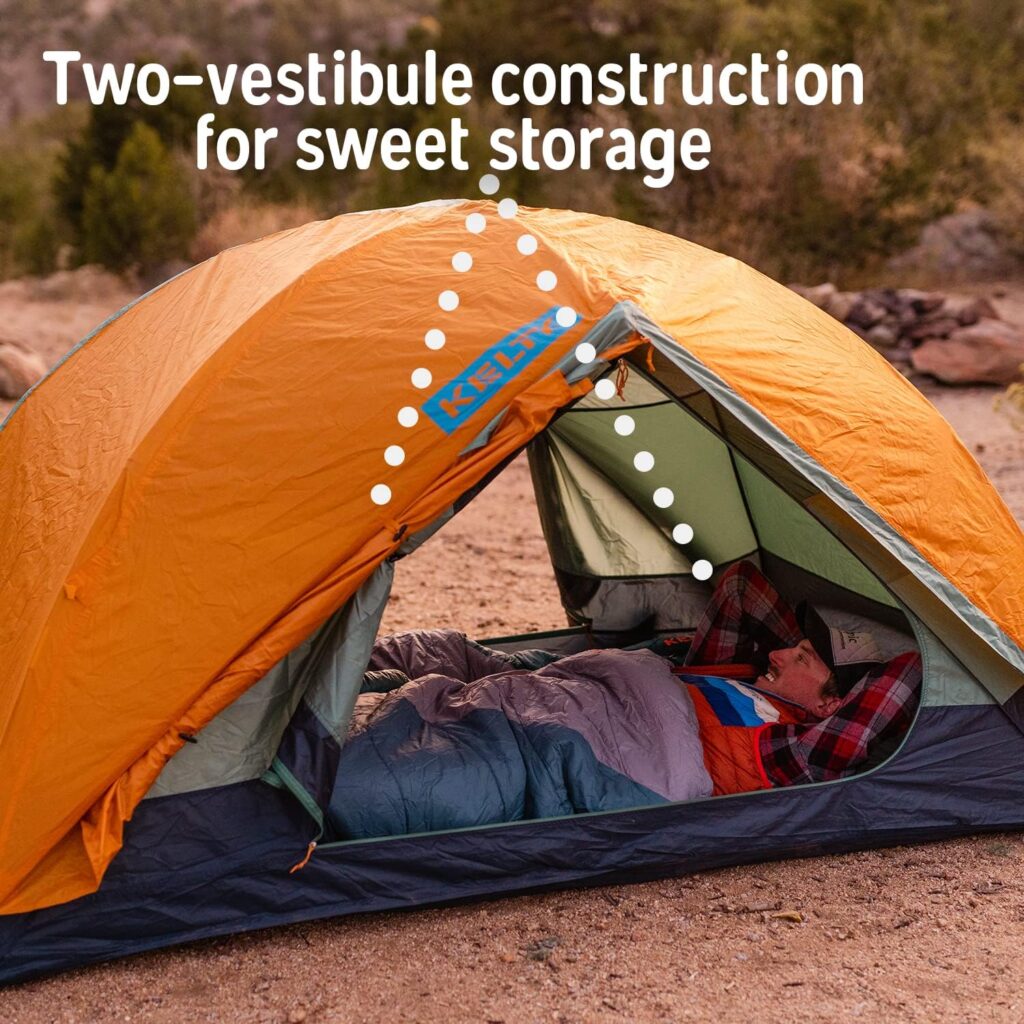
How do I choose the right tent size?
Consider the number of occupants and gear storage needs. For comfort, choose a tent rated for one person more than your group size. Factor in vestibule space for gear storage in wet conditions.
Can I use a footprint with my tent?
Yes, a footprint protects your tent floor from abrasion and adds an extra waterproof layer. Ensure it’s slightly smaller than your tent floor to prevent water pooling between layers.
What’s the best way to dry a tent after use?
Set up the tent in a shaded, well-ventilated area. If immediate setup isn’t possible, hang the tent loosely and turn it inside out periodically until completely dry before storage.